You can add contacts using one of the following methods:
Import contacts using a Virtual Contact File (VCF/Vcard) file
Add contacts manually
1. Import contacts using Vcard File:
The fastest way to add contacts is through the use of a Virtual Contact File (VCF/Vcard) file.
To import contacts using a VCF/Vcard file:
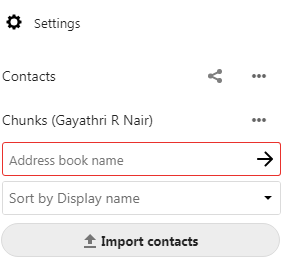
At the bottom of the Contacts app information field, locate the gear button.
Fig: Contact setting gear box
Click the gear button. The Contacts app upload field opens.
We can either upload a contact from a local file or import from the Files app.
We can select the Address book to which the contact is to be imported from the drop-down box.
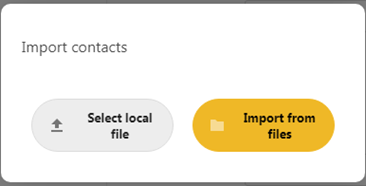
Import Contacts from Local Files:
Select the option ‘Select local file’
Select the file and import.
The selected file is imported to the corresponding Address book.
Import Contacts from File App:
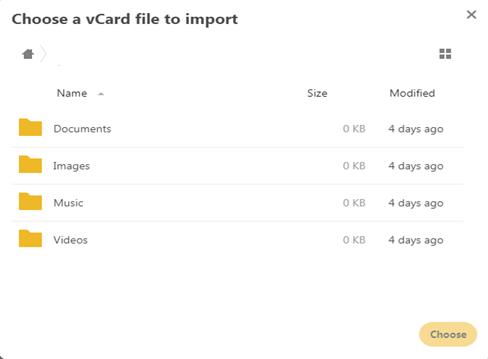
Select the option ‘import from file’
Select the file and import.
Fig: Import Contacts from File App
1. Creating Contacts Manually
The Contacts app enables you to create contacts manually.
To create a new contact:
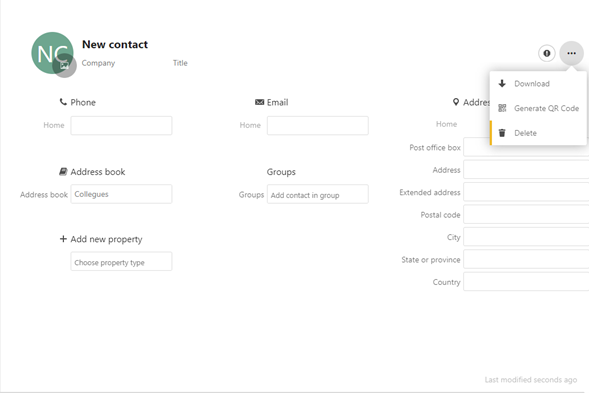
Click the +New contact
An empty new contact configuration opens in the Application View field.
Specify the new contact information.
Changes that you make are implemented immediately
Edit or Remove Contact Information
The Contacts app enables you to edit or remove contact information.
To edit or remove contact information:
Navigate to the specific contact that you want to modify.
Select the information in the field that you want to edit or remove.
Make your modifications or click on the trash bin.
Changes or removals that you make to any contact information are implemented immediately.
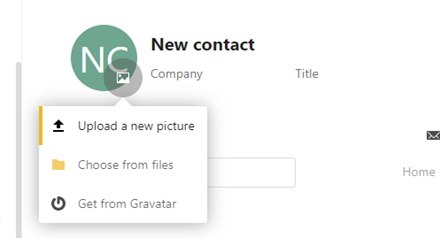
Contact Picture
To define a contact picture, click on the upload button:
If you want to upload a new one, remove it, view it in full size or download it click on the contact’s picture.
Add new property
Generally, the Contact book opens with the field to enter Phone, Email, Address, Add new property etc.
In order to add new property, tap on the + button against the option and select the property you want to add from the drop-down box.
Following are the list of properties:
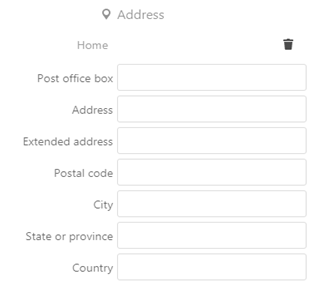
a. Address
You can add the field and it will automatically add to the Address book.
Once you want to delete the Address, select the delete icon against the Address field.
.
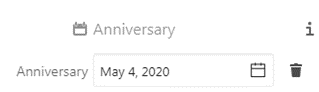
b. Anniversary
The date of marriage or related items can be added here.
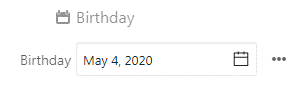
c. Birthday
You can sync birthdays and other recurring events with your calendar.
d. Date of death
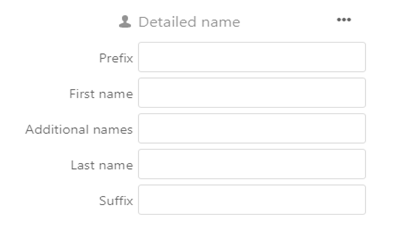
e. Detailed name
In order to copy the details to full name, select the option- Copy to full name from the overflow menu.
f. Email
Email Address of the contact can be added here:
In order to add multiple Email Address:
Select the Add new property and select Email.
g. Gender
Select the Gender as either Male, Female, Other, None or Unknown.
h. Instant messaging
Can add multiple Skype IDs by selecting add new property and select Instant messaging.
i. Location
j. Nick name
k. Notes
l. Phone number
m. Related
Specify a relationship between this entity and another entity represented by this vCard.
n. Relationship
Specify a relationship between you and this entity represented by this vCard.
o. Social Network
The URL of the social network can be added here.
p. Spoken language
Spoken language can be selected from the drop-down box.
q. Time zone
Time zone can be selected from the drop-down box.
r. Website
Add any website or URL to a contact
u. Phonetic last name
Can add the phonetic last name by adding this field to the contact details
s.Group
By adding any Group name, the contact is added to the specified group and it will get listed in the left side. From there, all the contact related to the group can be downloaded.
t. Phonetic first name
Can add the phonetic first name by adding this field to the contact details