
 Select the folder
Delete
Select the folder we want to delete
Select the Delete button
See the folder is deleted
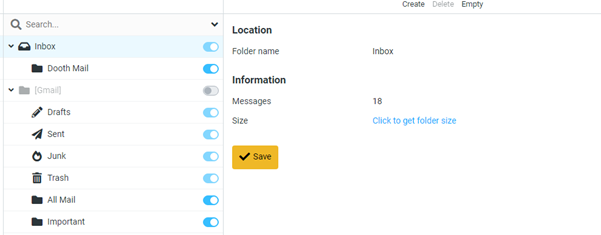
Empty
Select the folder we want to empty
Select the Empty button
See the messages inside the folder are cleared.
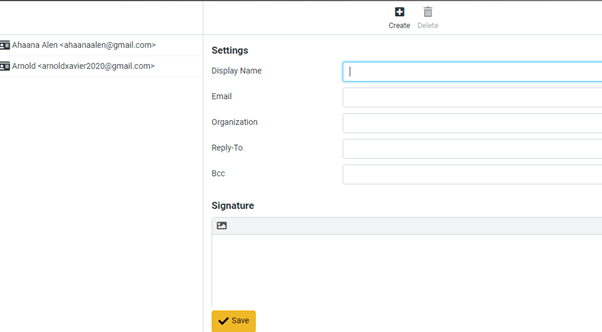
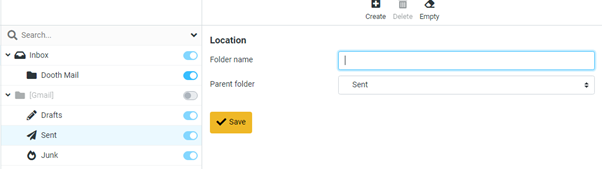
Select the create button
Add the name you want to Display
Add your details below in the space provided.
Save
The added account details will be added


Select the create button
Add the signature
Save
The added signature will automatically be added with the mail body.
Select the account you want to delete.
Select the delete button
Account details will be deleted.
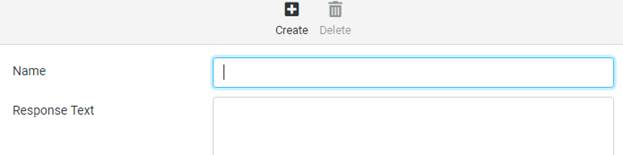
Create Responses
Select the create button
Add the name and response text
Save
Added responses will listed in the left side.
Delete Responses
Select the response to be deleted
Select the delete button
Added responses will be deleted.